HOW TO RECORD AND STITCH DRONE PANORAMAS
General tips for recording drone panoramas
Safety First: Always prioritize safety and legality when flying your drone. Familiarize yourself with the local regulations and guidelines.
Location and Subject: Choose a captivating location and subject, keeping in mind that panoramas capture a wide field of view. Ensure unwanted elements are excluded from the final image.
Drone Stability: Ensure the drone hovers stably before initiating panorama shooting. Both vertical and horizontal speeds should be close to 0 m/s. Watch for wind speed warnings from your drone.

Exposure Settings: Utilize automatic exposure to accommodate varying brightness levels in different frames, ensuring each shot is well-exposed.

White Balance: If possible, manually set the white balance to ensure consistent color quality across images. A range of 5300-5500K is typically ideal.

Image Format: Opt for RAW+JPEG to balance between image quality and processing speed. Refer to our detailed guide for more insights.

Panorama Type: Choose the type based on your desired outcome – “Sphere” for fully spherical panoramas, “180°” for wide views, “wide angle” for wide lens emulation, or “vertical” for taller subjects.

Wind Conditions: Be cautious of strong winds as they can induce parallax errors, affecting the quality of stitched panoramas.
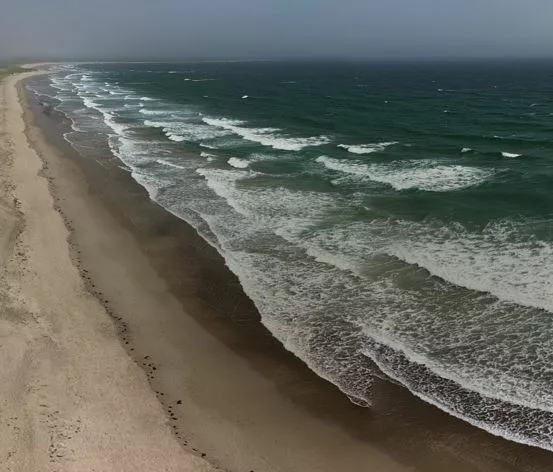
Water and Waves: When flying over water, ensure the drone maintains stability and be aware that large waves can confuse the stitching algorithm.
Obstacle Awareness: Be mindful of surrounding obstacles as the drone rotates during panorama capture to avoid collisions.
Subject Distance: Maintain a constant distance from the subject to avoid focus disparities and parallax errors during stitching. Ideally, all images should be focused at infinity or near-infinity.
Battery Check: Ensure your drone’s battery is sufficiently charged to complete the panorama shooting without interruptions.

General tips for stitching panoramas with PANOVOLO
Image Selection: Decide between DNG (RAW) or JPEG images for stitching. Batch process with JPEGs for speed, then refine selected panoramas with DNGs for quality. Refer to our guide for details.

Projection Type: Choose based on your panorama – “Spherical” for versatility, “Cylindrical” for 180° views, and “Mercator” or “Rectilinear” for wide-angle panoramas. Remember that any projection type other than “Spherical” will have some restrictions on the maximum field of view allowed. Panoramas may get cropped if the maximum field of view is exceeded.

Horizon Correction: If the horizon appears curved in the stitched panorama, use the “Edit/Straighten Horizon” option to correct gimbal tilt distortions.

Batch Processing: Utilize this feature for efficient processing of multiple panoramas, with options to skip or overwrite previously stitched images. You can batch process the “PANORAMA” folder on the SD card of your drone.

Interactive Photo spheres: If you want to produce a fully spherical, interactive “photo sphere” refer to our separate guide on how to shoot and stitch fully spherical panoramas.