HOW TO SELECT AND ADJUST THE PANORAMA CENTRAL POINT
Adjusting the central point in panoramas
PANOVOLO provides users with the ability to select or adjust the central point in their panoramas. This feature allows you to re-orient your panoramas around either the horizontal or vertical axis, as well as to correct the horizon curvature in all panorama types. Follow these simple steps to understand how to make these adjustments effectively.
Stitch Your Panorama: Start by stitching your panorama as you normally would. While adjusting the central point can benefit various panorama types and projections, it’s most flexible for fully spherical panoramas (photo spheres). Follow our guide on how to make this panorama type in PANOVOLO.
Access the Review Page: Once your panorama is stitched, navigate to the “View/Review” page in PANOVOLO.

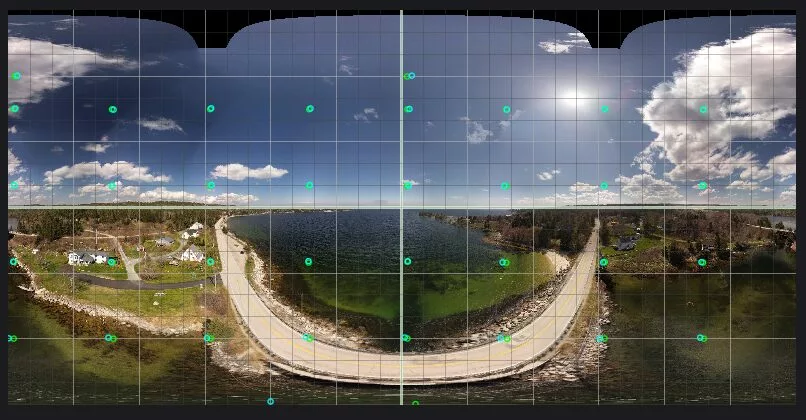
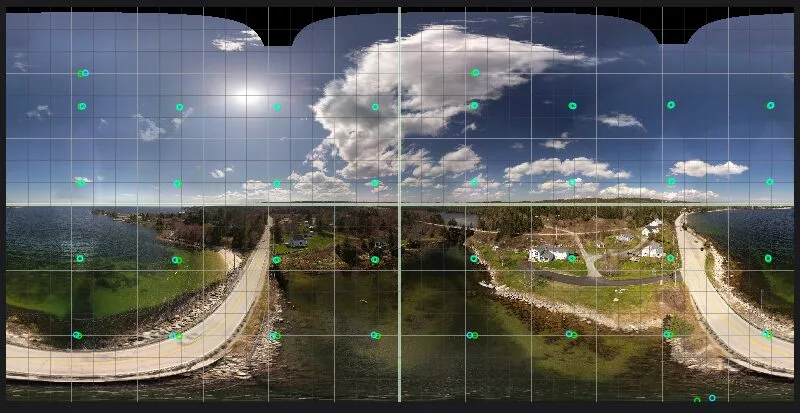
Activate View/Grid: Ensure that the “View/Grid” option is activated to assist you in making precise adjustments. This grid will serve as a guide during the adjustment process.
Enable “Adjust Panorama Center” mode: Toggle the “Adjust Center” button ON to activate the central point adjustment feature.

Select the Central Point: Now, you can select the central point by simply clicking on your panorama. Here’s what each click does:

- Clicking anywhere on the “Equator” (the horizontal central line in the grid) will rotate the panorama around the horizontal axis. This is useful if you want to bring a specific subject within your panorama to viewer’s attention. The degree of rotation depends on how far from the center of the panorama you click.

- Clicking on the “Zero meridian” (the vertical central line) will re-orient the panorama around its vertical axis. This is handy for manually correcting (or exaggerating) horizon curvature. Note that PANOVOLO can correct horizon curvature in most panoramas automatically when “Edit/Straighten horizon” option is turned ON.

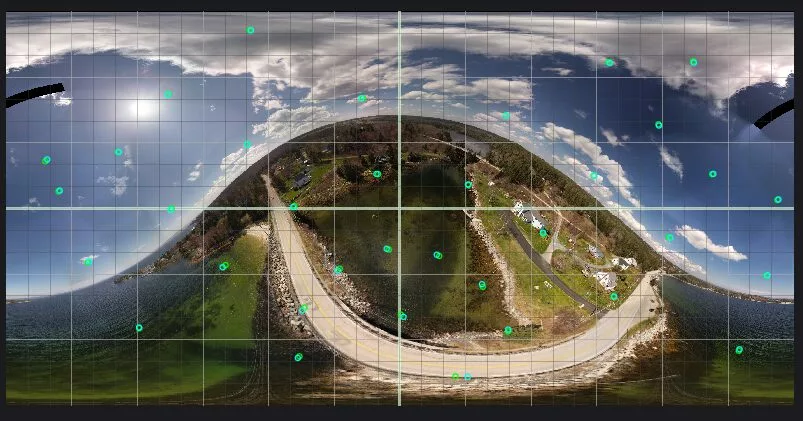
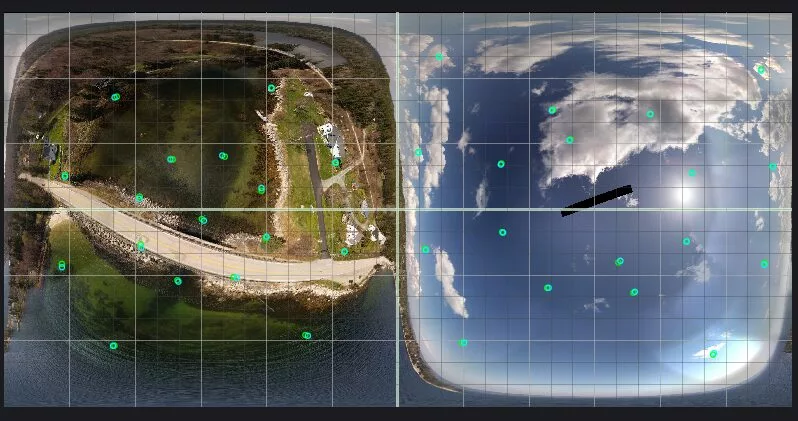
- Clicking anywhere else in the panorama will simultaneously re-orient it around both the horizontal and vertical axes. The degree of rotation will depend on how far from the center of the panorama you click. You can click multiple times for the continuous adjustment.

Consider Projection: Keep in mind that only Spherical and Stereographic projections can display a fully spherical (360×180°) field of view in your panorama. Other projections will limit the field of view around the panorama center.
Undo Adjustments: If you make a mistake or don’t like the adjustment of the panorama central point you made, simply click the “Reset” button and the panorama will return to its original orientation and settings.
Render and Save: Once you are happy with the adjustment, click the “Render” button to generate the new full-size panorama. Don’t forget to save it by going to “File/Save panorama“.

Feel free to experiment with different panorama orientations to find the adjustment that best suits your creative vision and needs.
With these user-friendly steps, you can easily adjust the central point of your panoramas using PANOVOLO. Happy panoramic editing!
