
HOW TO IDENTIFY AND CORRECT PANORAMA STITCHING ERRORS
How to correct stitching errors with PANOVOLO
PANOVOLO employs a robust algorithm for drone panorama stitching, utilizing image position and orientation data captured by the drone along with powerful image processing and feature matching. However, even the most advanced stitching algorithms can occasionally produce errors. This guide aims to help you identify and rectify stitching problems effectively.
Understanding Stitching Errors
The stitching algorithm in PANOVOLO identifies key points in overlapping images and matches corresponding key points to precisely align them in the panorama. When there are no keypoints (for example, in the clear sky), PANOVOLO relies on the data saved by drone’s IMU to align the images.
While the process is robust against noise and minor movements, errors may occur when a significant portion of the image shifts in the overlapping region. This can happen from factors like movement of large waves or drone hovering instabilities. Additionally, regular repetitive patterns in images, such as floor tiles or crop field rows, can also confuse the stitching algorithm.
The chance of errors increases with the number of images in the panorama – 360° photo spheres are more susceptible to stitching errors compared to 3×3 wide angle panoramas, for example.
Identifying Stitching Errors
After stitching, closely inspect the panorama viewer at 100% zoom for anomalies such as “steps” or “dislocations” in the horizon or in straight lines like building walls or pavement markings. Minor stitching errors may be ignored, but noticeable discrepancies should be addressed.
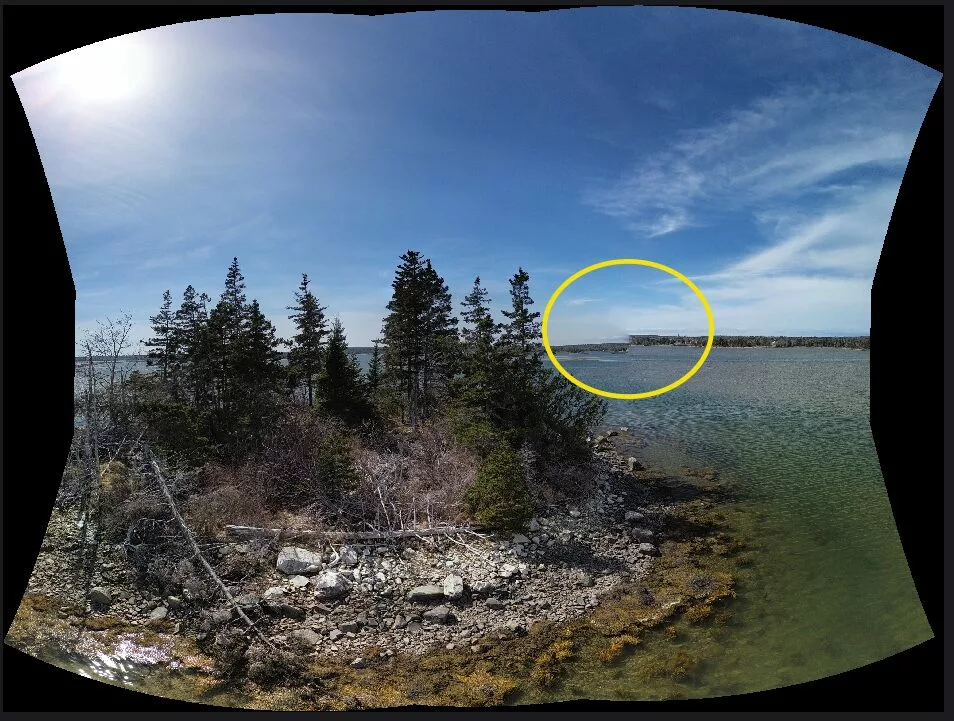
Correcting Stitching Errors: Step-by-Step
Navigate to the Review Page: Access the Review page in PANOVOLO by selecting "View/Review".

Select the Misaligned Image: Identify and select the image that appears misaligned. This may require some trial and error as many images can overlap in one particular region. Images can be selected either by clicking on panorama itself, or by selecting an image from the image strip on the right. You can change the selected image opacity with the opacity slider or Alt + Drag gesture to inspect the overlap of the selected image with other images in the particular region.

Adjust Parameters: Correct image alignment by adjusting “yaw,” “pitch,” and “roll” parameters, which modify the image’s orientation in 3D space.
The easiest method is to directly adjust the image pitch and yaw by using Ctrl (⌘ or Command on macOS) + Drag gesture. The drag will directly move the selected image in the panorama. To adjust the image roll, use Shift + Drag movement.
Alternatively, sliders and input fields in the toolbar can be used . Use the sliders for coarse adjustments and linked numerical fields and mouse scroll for finer adjustments.

Monitor Changes: When doing the adjustments monitor the alignment of the current image with other images in the overlap region and try to minimize “ghosting” or blurring artifacts between the images. Remember that the absolutely perfect alignment may not be possible, as most images are not completely stationary. Minor misalignments will be smoothed out by PANOVOLO’s blending algorithm. Monitoring matched feature distances (“View/Matches") can assist alignment in some cases.
Render and Inspect: After the initial adjustments, render a new panorama by pressing the “Render” button and inspect the result. If you are happy with a new image, save the corrected panorama (“File/Save panorama").

Refine if Necessary: If residual errors persist, repeat the correction process with small adjustments. Adjusted images will appear as red circles in the Review panorama viewer for a quick identification.
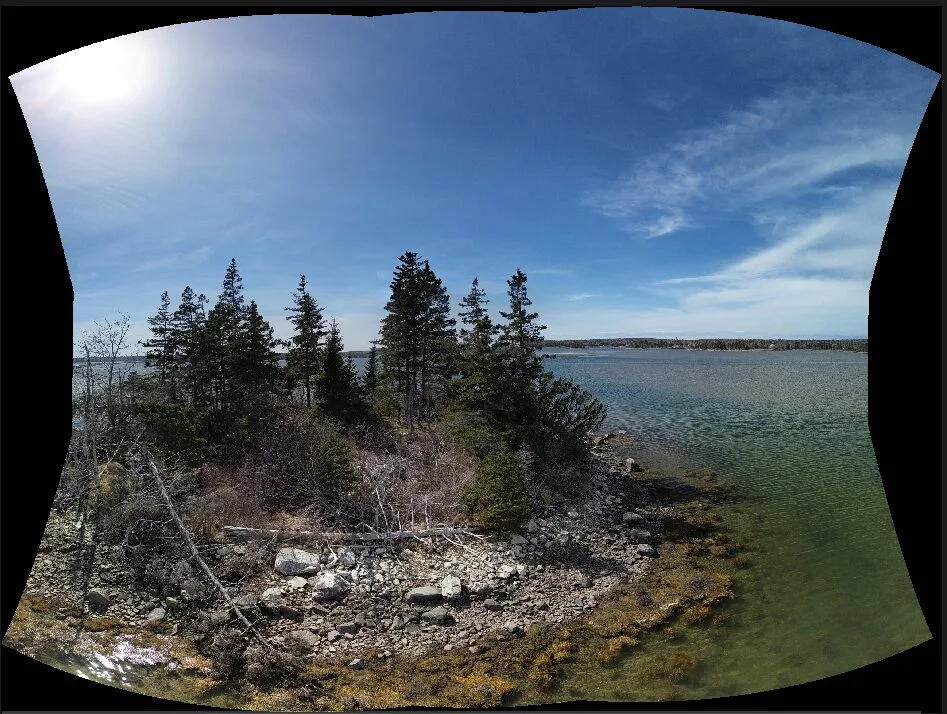
Undo if Needed: If you don’t like the adjustment you’ve made, use “Edit/Undo” to undo it. Unlimited undo/redo steps are supported for all the adjustments you make. You can also reset individual image adjustments by pressing either “Snap to initial” button to go to the image alignment as saved by a drone, or “Snap to optimized” to reset to the image alignment as produced by the feature matching algorithm.

Mastering this correction process empowers you to address stitching errors in your panoramas effectively, ensuring the highest quality results.